

Table of Contents
- 1. Pre-Design Consultation and Approval Process
- 2. Digital Mock-ups and Client Sign-Off
- 3. Material Selection and Lead Times
- 4. Surface Preparation Requirements
- 5. Installation Crew Scheduling and Coordination
- 6. Weather Considerations for Outdoor Murals
- 7. Post-Installation Quality Assurance and Touch-Ups
- Frequently Asked Questions (FAQ)
1. Pre-Design Consultation and Approval Process
A custom wall mural transforms your storefront or interior space into a branded asset that captures attention and reinforces your business identity. But getting it right requires more than just a great design. The installation timeline matters as much as the creative vision. When timelines slip, your grand opening gets delayed, your marketing campaign loses momentum, or your interior refresh stalls mid-project.
We’ve completed hundreds of custom mural installations across the Dallas area, and we’ve learned that the difference between a smooth 3-week project and a frustrating 12-week nightmare comes down to upfront planning and realistic scheduling. This guide walks you through the key steps to keep your mural installation on track.
The foundation of any reliable timeline is a thorough initial consultation. This isn’t a quick 15-minute call; it’s a strategic conversation where we understand your vision, constraints, and deadline expectations.
During this phase, we gather critical information:
- Your business goals and the story the mural should tell
- The exact location and wall dimensions
- Current lighting conditions and how they’ll affect the mural’s visibility
- Your target audience and what will resonate with them
- Any brand guidelines or color palettes that must be honored
- Your hard deadline (if you have one)
We ask about obstacles early: Are there electrical outlets, HVAC vents, or architectural features that complicate placement? Is the wall currently painted, textured, or covered? Does the space have limited access during business hours? These details shape what’s possible and how long preparation takes.
What you should do next: Schedule a site visit rather than relying on photos alone. Let us walk the space, take measurements, and assess surface conditions. This conversation clarifies scope and prevents the design revisions that derail timelines.
2. Digital Mock-ups and Client Sign-Off
Once we understand your goals, we create a digital mock-up that shows exactly how the mural will look on your actual wall. This isn’t a generic concept; it’s placed directly into a photo of your space so you can visualize the final result before fabrication begins.
The mock-up stage is where most timeline delays happen, and they’re entirely avoidable. The culprit is usually unclear feedback or scope creep. “Can we make it bigger?” “What if we change the color palette?” “Do you think the logo should be in the upper left instead?” Each revision request adds 2-4 days to this phase.
We present mock-ups with clear revision rounds built in. Typically, you get two rounds of revisions included in our design process. We ask for comprehensive feedback upfront: color, composition, size, placement, and messaging all at once. This eliminates the “death by a thousand revisions” trap.
Once approved, we lock the design and move forward. That written sign-off is your anchor point for the timeline.
Actionable takeaway: Gather stakeholders (owner, marketing team, manager) before the design reveal so feedback comes unified and final. Multiple approval chains add weeks to projects unnecessarily.
3. Material Selection and Lead Times
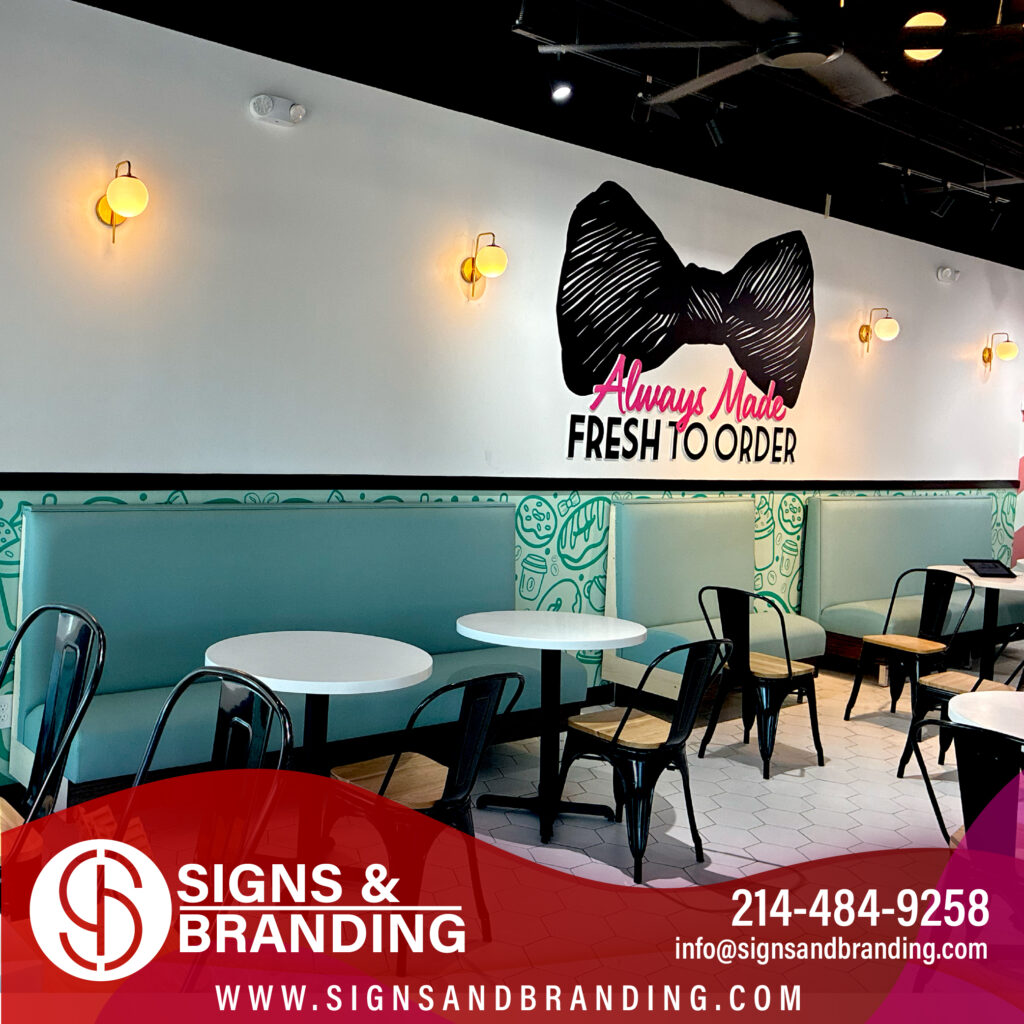
The materials you choose directly impact how quickly we can deliver. This decision happens after design approval but before fabrication.
For custom murals, we typically offer two material families:
- Vinyl graphics with laminate protection (fastest turnaround, 7-14 days for fabrication)
- Direct-to-substrate printing on aluminum or composite panels (more durable for high-traffic areas, 10-14 days)
Both are weather-resistant and backed by our 5-year quality warranty, so durability isn’t a trade-off. The difference is application method and longevity in extreme sun exposure or heavy-traffic zones.
Vinyl is ideal for interior murals or exterior walls with some shade. The material is affordable, vibrant, and quick to produce. Aluminum panels suit high-touch commercial environments where durability is non-negotiable, like food service or retail storefronts that get heavy foot traffic.
Some design elements affect lead times too. Metallic inks, specialty finishes, or laminate upgrades may add 2-3 days. We discuss these options upfront so you understand the timeline trade-offs.
We maintain stock of core materials and work with trusted suppliers to keep lead times predictable. That 2-3 week turnaround we advertise assumes material availability, which is why we confirm it early.
What to do: Select your material during the design approval phase, not after. This keeps everything moving in parallel rather than creating a sequential bottleneck.
4. Surface Preparation Requirements
A mural installation is only as good as the surface it’s applied to. Poor prep work shows up immediately and shortens the lifespan of your investment.
Surface prep typically takes 3-5 days depending on what we find:
- Interior walls need to be clean, dry, and free of loose paint or wallpaper. If the wall is textured, we smooth it or use a primer base.
- Exterior walls require more work. We inspect for moisture, mold, or deterioration. Stucco gets sealed. Bare concrete may need a primer. If the existing paint is peeling or chalky, we strip it.
- Brick or masonry surfaces are power-washed and any efflorescence is removed.
The wildcard is discovering problems during prep. A wall that looks sound in photos might have water damage, mold, or structural issues once we examine it closely. When we uncover these, the timeline extends because we can’t install a mural over a compromised surface.
We schedule prep work the week before installation. This gives us a window to address surprises without cascading delays. We photograph and document the surface before and after so you understand what was required.
Insider note: If your building has had leaks or moisture issues, disclose them upfront. We can specify sealed, moisture-resistant materials to protect your investment, but knowing this in advance prevents timeline shocks.
Do this: Arrange site access before we schedule installation. Make sure the wall and surrounding area are accessible to our crew for at least two full days. Any disruptions (scheduled meetings, locked doors, heavy foot traffic) need to be coordinated beforehand.
5. Installation Crew Scheduling and Coordination
Once materials arrive and the surface is prepped, we schedule the installation crew. For most murals, installation takes 1-2 days depending on size and complexity.
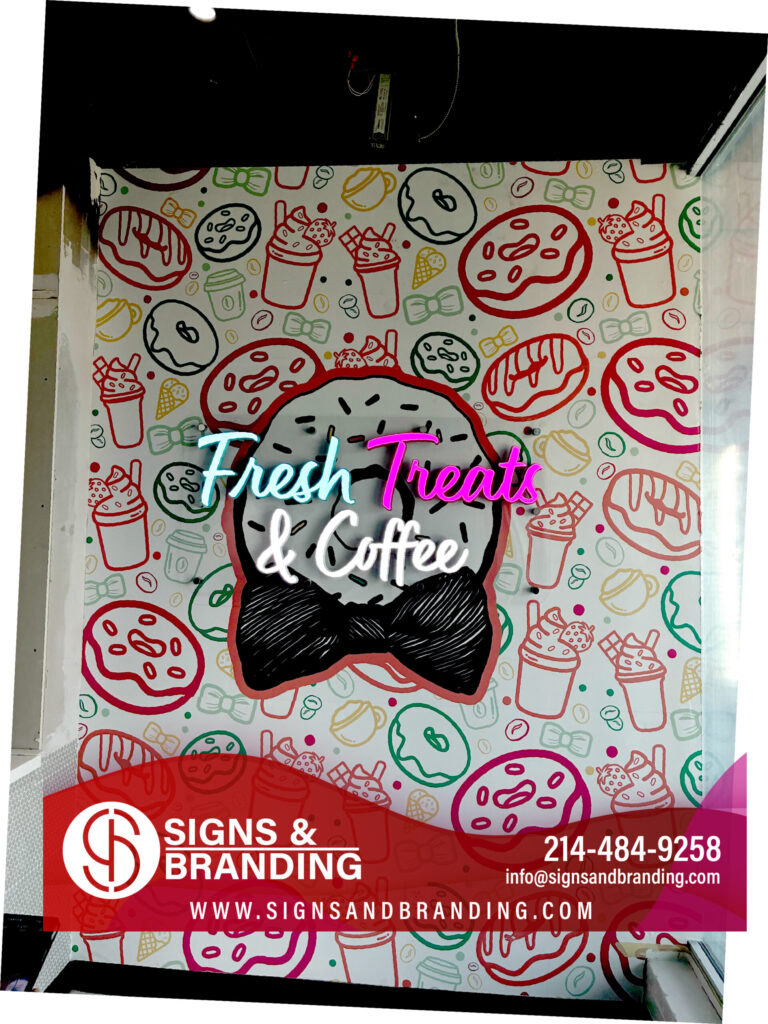
We coordinate around your business operations. If you’re a retail storefront, we schedule evening or weekend installation to minimize customer disruption. For office buildings or interior spaces, we work around tenant schedules and building access hours.
Lead times matter here too. Our installation crews are booked 3-4 weeks out during peak season (spring and fall). If you need an installation date within two weeks, availability becomes constrained. We manage this by communicating realistic windows upfront and protecting slots for clients who plan ahead.
During installation, our crew manages all aspects: applying the mural, trimming edges, sealing transitions, and testing durability before we leave site. We don’t hand you a mural and disappear; we ensure every edge is secure and every transition looks professional.
We also handle any interior or exterior design coordination needed. If your mural is part of a larger branding project (updated signage, LED lighting, or interior graphics), we sequence the work so your space doesn’t feel perpetually under construction.
Next step: Confirm your target installation date at least 4 weeks in advance. This gives us time to schedule crews, order materials, and complete prep work without compression. Rush jobs cost more and carry higher risk of delays.
6. Weather Considerations for Outdoor Murals
Outdoor murals introduce variables that interior projects don’t face. Weather patterns can accelerate or stall your timeline.
Wind, rain, and humidity all affect vinyl application and adhesive cure time. We can’t install vinyl graphics if temperatures drop below 50 degrees or exceed 95 degrees. Humidity above 85% also creates problems because the vinyl won’t adhere properly. In the Dallas area, this means late fall and winter offer ideal windows for outdoor installations. Summer heat and spring humidity require careful scheduling.
Rain is the biggest disruptor. We can’t prep or install during active precipitation, and freshly applied vinyl needs 24 hours of dry conditions to fully cure. If weather forecasts show rain during your scheduled installation window, we reschedule. Pushing ahead risks poor adhesion and premature failure.
For planning purposes, assume a 1-2 week weather buffer during unpredictable seasons (April-June and September-October). During stable seasons (July-August and November-January), timelines are more predictable.
We monitor weather forecasts 10 days out and communicate any risks to you immediately. If a storm system threatens your installation date, we adjust the schedule and coordinate the new timeline.
What you should know: Schedule outdoor murals 6-8 weeks out if they’re going up during unpredictable weather. This gives us cushion to adjust for storms without derailing your larger business plans.
7. Post-Installation Quality Assurance and Touch-Ups
Installation day marks the finish line, but quality assurance happens immediately after. Our crews document the finished mural with photographs, check that all edges are sealed, and test high-traffic areas for adhesion issues.
We also walk you through care instructions and warranty terms. For vinyl murals, this includes cleaning guidelines and what to expect over five years. For painted or direct-print installations, we explain maintenance and UV exposure impacts.
Touch-ups sometimes happen immediately. A seam edge might need reinforcement, or a small area might need blending. These are covered under our installation and don’t extend your timeline since they happen before we leave site.
Minor issues that surface later (like a lifted edge from temperature swings or accidental scuffs) are covered under our 5-year quality warranty. We make it right at no additional cost.
Build in one week of post-installation observation before you consider the project fully closed. This allows any edge cases to surface while our crew can address them quickly.
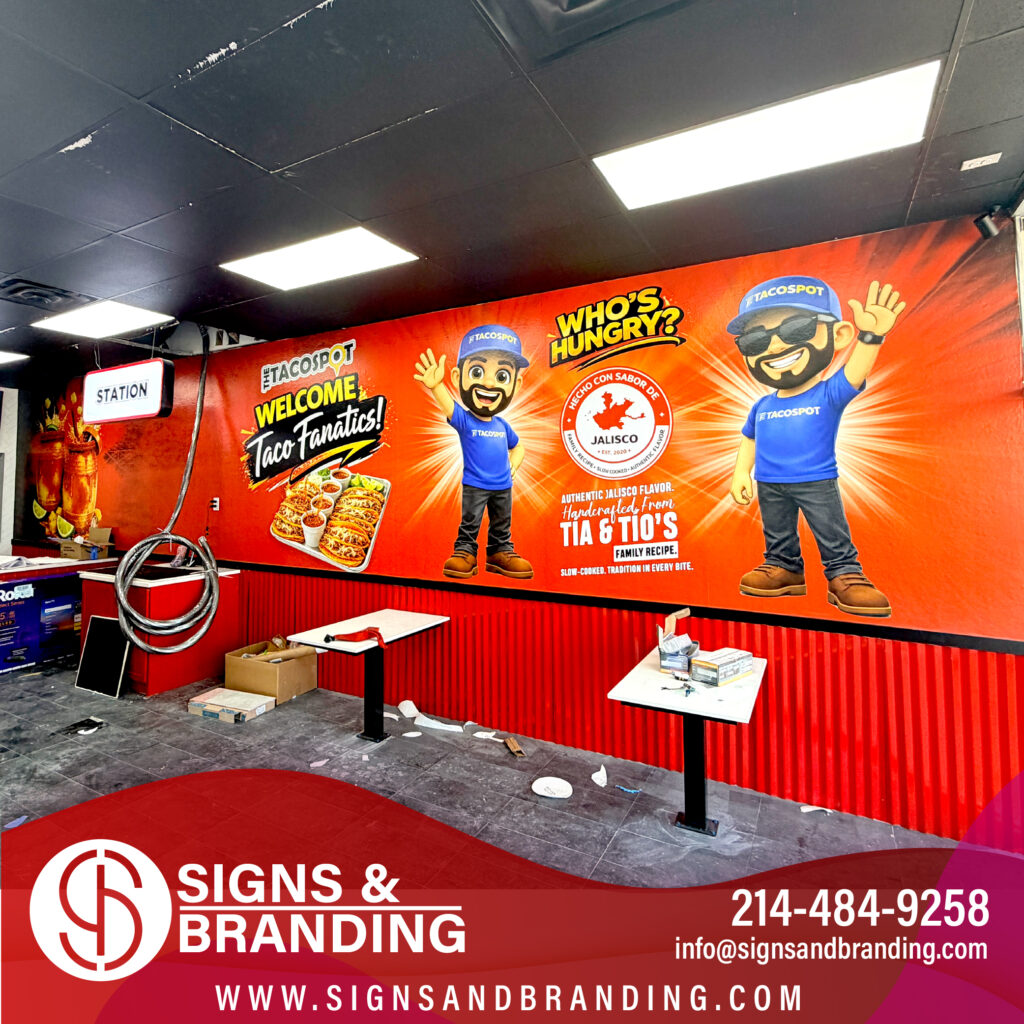
Actionable step: Schedule a final walk-through with us 5-7 days after installation. This gives time for materials to fully cure and lets you inspect the finished work under normal conditions.
Planning Your Timeline: The Full Picture
A realistic custom wall mural installation timeline breaks down like this:
- Pre-design consultation and approval: 1-2 weeks
- Digital mock-up and revision cycles: 1-2 weeks
- Material fabrication: 2-3 weeks
- Surface preparation (concurrent with fabrication): 3-5 days
- Installation: 1-2 days
- Post-installation quality check: Same day completion
Total elapsed time: 4-7 weeks from first consultation to finished mural.
That window assumes you move efficiently through design approvals and no weather complications delay outdoor work. Delays in design approval or unexpected surface issues add time.
If you need a mural faster, rush fabrication is possible for 15-20% additional cost, but design decisions and approvals must still happen upfront. You can’t compress the thinking phase without compromising quality.
We handle all coordination for you. From the initial site visit through final installation and warranty service, we manage the timeline so you focus on your business. That’s the value of working with an in-house team that designs, fabricates, and installs everything under one roof. You’re not juggling multiple vendors or waiting for handoffs between contractors.
If you’re planning a custom mural and want a realistic timeline for your specific project, reach out for a consultation. We’ll walk your space, understand your deadline, and give you a clear schedule with no surprises. That’s how we’ve built trust with Dallas business owners for years.
For further reading: Branded mural planning.
Contact us today for a FREE Estimate
Frequently Asked Questions (FAQ)
How long does a typical custom wall mural project take from start to finish?
We generally complete most mural projects within 2-3 weeks, though the exact timeline depends on several factors. This includes our initial consultation and design phase, material sourcing, surface preparation, and professional installation. Complex designs or larger installations may require additional time, which we’ll communicate upfront during your project assessment.
What’s involved in preparing a wall surface before we install a mural?
We handle all surface preparation as part of our installation service, which includes cleaning, repairing any damage, and ensuring the wall is properly primed for optimal adhesion. Proper prep work directly impacts how long your mural lasts and how vibrant it appears. We assess each wall individually to determine the specific preparation needed before installation begins.
Can we install outdoor murals year-round, or are there weather limitations?
We monitor weather patterns closely and schedule outdoor installations during optimal conditions to ensure proper material application and curing. Cold temperatures, high humidity, and rain can affect installation quality, so we may adjust your timeline to avoid these issues. We’ll work with you to find the best installation window while keeping your project on schedule whenever possible.