

Table of Contents
- Why Electrical Planning Matters for Your Storefront Sign
- Understanding Electrical Requirements for Illuminated Signs
- Power Supply Options and Load Calculations
- Navigating Dallas Building Codes and Permits
- Choosing the Right Lighting Technology for Your Storefront
- Installation Considerations and Safety Standards
- How We Handle Your Complete Electrical Setup
- Long-Term Performance and Maintenance Planning
- Avoiding Common Electrical Installation Mistakes
- Getting Your Project Completed on Schedule
Why Electrical Planning Matters for Your Storefront Sign
A stunning illuminated storefront sign catches eyes and drives foot traffic, but only if the electrical foundation is solid. Poor planning leads to costly rewiring, permit delays, and safety hazards that can sideline your business during critical opening periods. We’ve seen businesses lose weeks of revenue because electrical work wasn’t coordinated with sign fabrication, forcing them to choose between incomplete installations or emergency expedited solutions.
Electrical planning isn’t an afterthought. It’s the backbone that determines whether your sign operates reliably for years or becomes a maintenance nightmare within months. Starting with a clear electrical strategy helps you avoid scope creep, budget surprises, and installation conflicts with your building’s existing infrastructure.
The best time to plan electrical requirements is before design finalization. This lets us coordinate with your electrician, building owner, and city inspectors without rework or costly delays.
Understanding Electrical Requirements for Illuminated Signs
Illuminated signs draw power in multiple ways depending on their design. A channel letter sign with neon or LED tubes pulls steady continuous current. A digital display sign or programmable LED billboard has variable demand that spikes during startup. A simple backlit acrylic panel uses less power than a full LED matrix.
We assess requirements by calculating total wattage across all light sources, considering peak load during simultaneous operation. For example, a 4-foot by 8-foot illuminated cabinet sign with LED tubes might draw 400-600 watts continuously, while a programmable digital display could demand 1,200+ watts with startup surges reaching 150% of steady-state draw.
Voltage matters too. Most storefront signs run on standard 120V single-phase service, though larger installations may use 208V or 277V three-phase power. Your existing electrical panel capacity determines what’s realistic without expensive upgrades. We review your panel rating and available circuits during the initial consultation.
Key requirements to document:
- Total steady-state wattage
- Peak demand and startup surge requirements
- Voltage and phase specifications
- Duty cycle (continuous vs. scheduled operation)
- Dimming or control system needs
Power Supply Options and Load Calculations
Most storefront signs connect to dedicated circuits separate from general building loads. This prevents your sign from tripping breakers when someone runs a microwave in the back office. We typically recommend a minimum 20-amp circuit for smaller signs and 40-50 amps for larger installations or multiple sign zones.
Load calculation starts simple: add up all wattage and divide by voltage (Watts = Volts x Amps). A 480-watt sign on 120V needs a 4-amp circuit minimum, but code requires oversizing to 125% of expected load plus accounting for startup surges. That same 480-watt sign realistically needs a 15-amp dedicated breaker.

For complex signs with multiple zones or programmable controls, we use power distribution modules that manage load distribution and prevent overages. These intermediate boxes protect your main panel and allow future expansion without rewiring the entire sign.
Consider future growth when sizing circuits. Adding additional signage, extending hours, or brightening existing signs all increase demand. Oversizing today costs less than retrofitting tomorrow.
Sizing checklist:
- Measure total steady wattage of all light sources
- Apply 125% safety factor per code
- Account for startup surge (typically 150% of steady draw)
- Verify main panel has available amperage
- Plan for 10-15% future headroom
Navigating Dallas Building Codes and Permits
Dallas enforces the International Building Code with local amendments. All illuminated signs require electrical permits and must pass inspection before energization. The specific code section depends on sign classification: wall signs, freestanding signs, roof signs, and digital displays each have distinct requirements.
Our experience navigating storefront sign regulations in Dallas streamlines the process. We coordinate electrical work with sign fabrication to align timing and ensure inspectors can verify both simultaneously. Most Dallas inspections occur within 2-3 business days of request, but delays happen when electrical work and sign installation aren’t synchronized.
The permit application requires electrical load calculations, circuit diagrams, and sometimes a stamped plan from a licensed engineer (typically required for signs exceeding 50 square feet or drawing over 2 kW). We compile all technical documentation and submit permits on your behalf, coordinating scheduling so inspections happen when both sign and electrical work are ready.
Failure to obtain permits risks fines, stop-work orders, and liability issues if the sign causes damage or injury. We ensure full compliance so you operate confidently.
Choosing the Right Lighting Technology for Your Storefront
LED and neon dominate storefront applications, each with different electrical profiles. LEDs consume 60-70% less power than equivalent neon and generate minimal heat, making them ideal for budget-conscious owners and complex custom shapes. Neon remains popular for retro aesthetics and dramatic color punch but requires higher voltage ballasts and runs hotter.
Our LED options range from flexible LED tape (simple, low-power accent lighting) to rigid LED tube systems (channel letters and boxed signs) to full digital displays. Flexible tape uses 5-10 watts per meter, while rigid tubes typically draw 10-15 watts per foot. Digital LED billboards demand significantly more, so their circuit planning becomes critical.
Light output matters functionally. A higher-quality LED delivers equivalent brightness at lower wattage, reducing electrical load and heat buildup. Cheap LEDs require more amperage to match brightness, increasing circuit demands and creating unnecessary draw on your electrical panel.
Dimming capability adds another layer. Dimmable LED systems cost slightly more upfront but let you adjust brightness seasonally or create dynamic lighting effects. These systems still require careful planning since dimming circuitry can cause electrical noise in some building systems.
Technology comparison for planning:
- LED tape: 5-10W/meter, 120V standard
- LED rigid tube: 10-15W/foot, 120V standard
- Neon: 15-20W/foot, requires 240V high-voltage ballast
- Digital LED display: 500W-5kW+, depends on size and content
Installation Considerations and Safety Standards
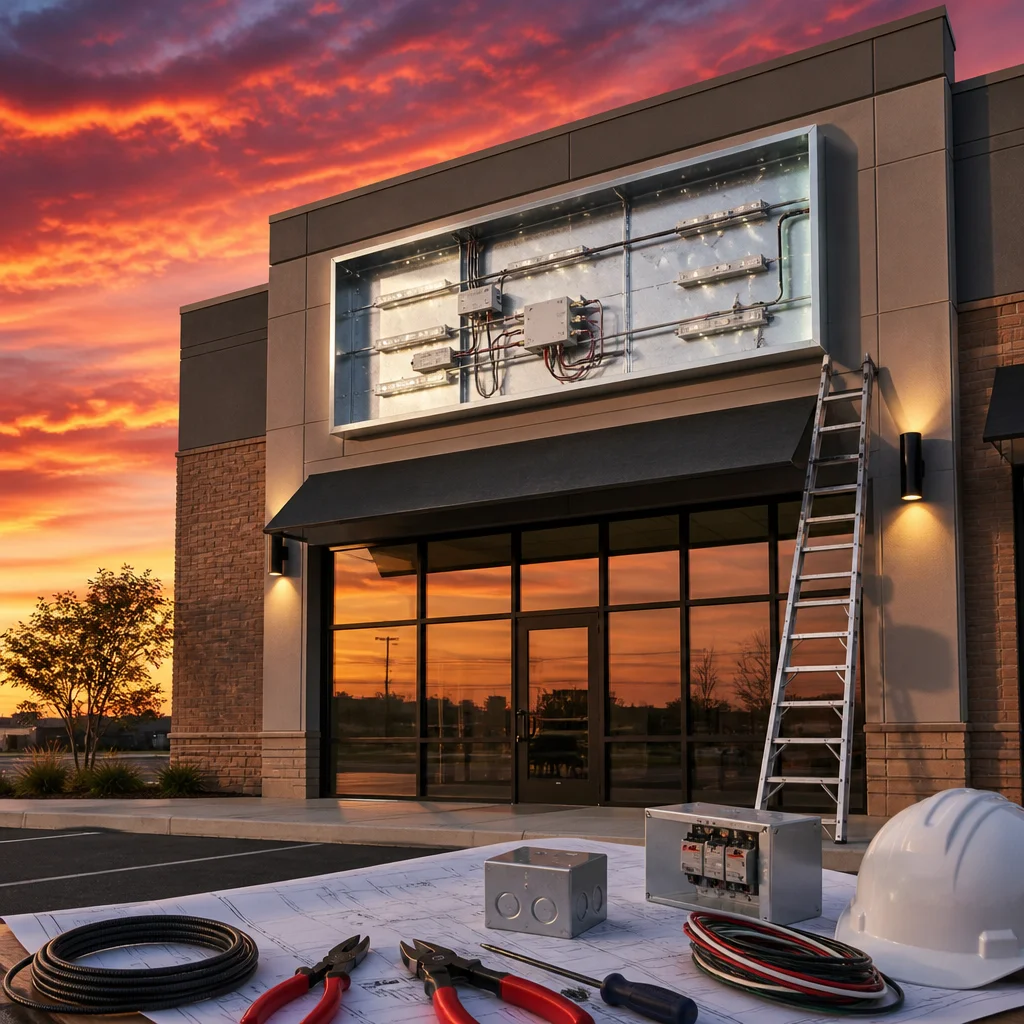
Electrical safety during sign installation protects your building and workers. All wiring must meet code: properly gauged conductors, GFCI protection within 6 feet of water, conduit or approved raceways to protect wires from damage, and grounding that meets current standards.
We work exclusively with licensed electricians who understand both general electrical code and sign-specific requirements. They install disconnect switches (required by code for all signs) so the sign can be de-energized for maintenance. They also verify that sign wiring doesn’t interfere with fire suppression, alarm, or data systems already in your building.
Outdoor signs face harsh conditions. We specify UV-resistant conduit, corrosion-resistant terminal blocks, and weatherproof junction boxes. Water infiltration is the leading cause of electrical failure in outdoor signage, so drainage and sealing matter tremendously.
Proper grounding is non-negotiable. All sign frames, metal backs, and housings must be grounded to prevent electrical shock hazard if a wire fault occurs. Grounding bonds everything safely to earth through your building’s grounding system.
Installation safety essentials:
- Licensed electrician performs all work
- Disconnect switches installed and labeled
- Proper wire gauges for calculated load
- GFCI protection where required
- Outdoor-rated components and sealing
- Grounding verified by inspection
How We Handle Your Complete Electrical Setup
We coordinate the entire electrical planning process from initial consultation through final inspection. During design, we calculate electrical requirements and identify optimal mounting locations that minimize wire runs and simplify routing. Shorter circuits mean less voltage drop and lower installation costs.
Our in-house fabrication team works with your dedicated electrician to align installation scheduling. This prevents the common scenario where the sign arrives but electrical work isn’t ready, or electrical is finished but sign installation stalls. We’ve streamlined this to keep projects on a 2-3 week timeline.
We compile all technical documentation, load calculations, and electrical plans needed for permit applications. If your sign exceeds local thresholds, we coordinate with a licensed engineer to provide stamped calculations. We then manage permit submission and schedule inspections at times when both sign and electrical work are inspection-ready.
Post-installation, we verify operation and coordinate the final electrical inspection. You receive documentation of all work, warranty details, and maintenance guidelines for long-term reliability.
Long-Term Performance and Maintenance Planning
Illuminated signs thrive with basic preventive maintenance. We provide detailed maintenance schedules covering light output assessment, connection inspection, and thermal monitoring. LEDs typically last 50,000+ hours (5-10 years of continuous use), so performance degradation usually signals ballast or wiring issues rather than light failure.
Seasonal inspections catch problems early. UV exposure degrades outdoor conduit and seals, water infiltration risks increase with heavy rain, and temperature swings stress solder joints. Annual check-ups cost far less than emergency repairs or replacements.
Proper electrical load management extends equipment life. Signs oversized with ample circuit capacity run cooler and more reliably than marginal installations. If you ever expand signage or increase brightness, having circuit headroom prevents conflicts.
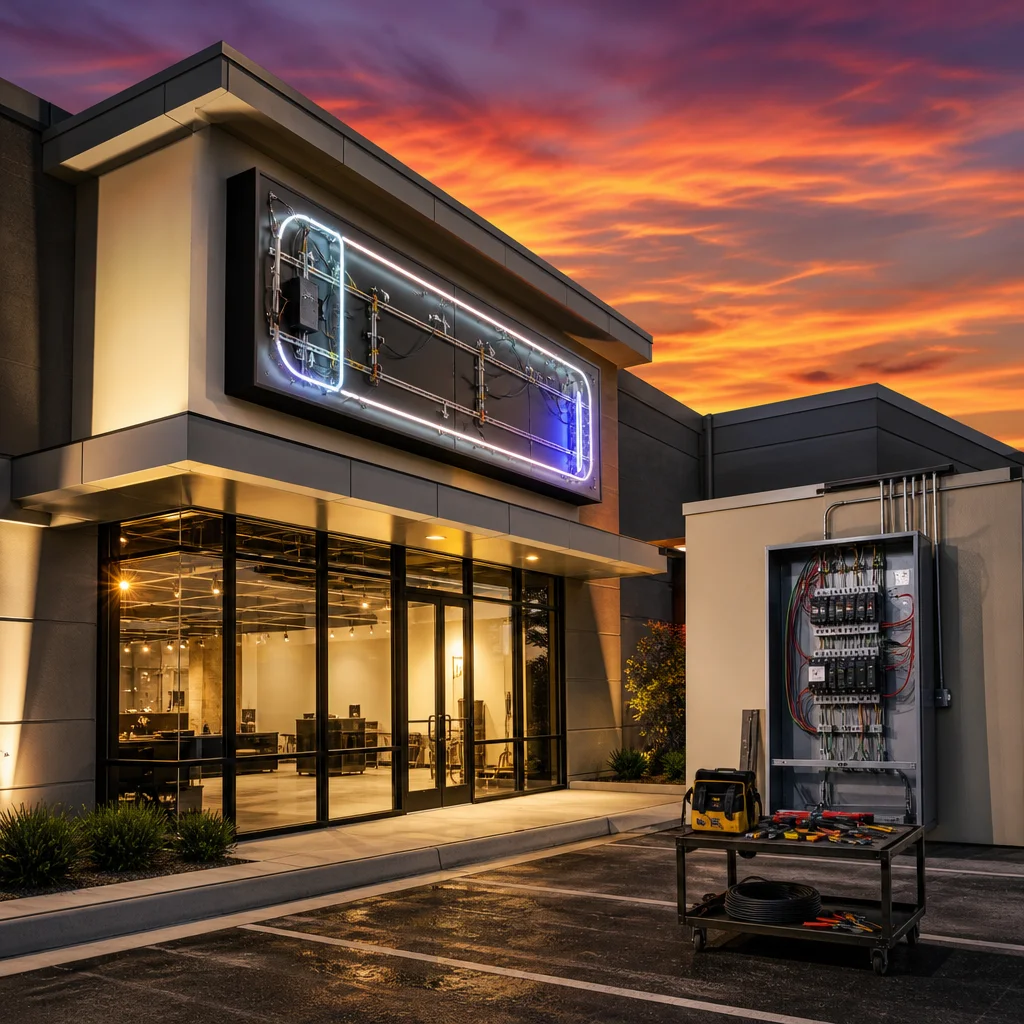
We provide documentation of all electrical work including circuit maps, wattage records, and warranty terms. This record becomes valuable if you sell the business or need future modifications.
Avoiding Common Electrical Installation Mistakes
Undersizing circuits is the most frequent mistake. Builders estimate sign power needs poorly, then later modifications or brightness increases overload the original circuit. We calculate with 25% headroom to accommodate changes without rewiring.
Mixing voltage systems creates confusion and safety risks. Some buildings have both 120V and 208V available; using the wrong voltage damages sign equipment. Clear labeling and deliberate circuit selection prevent errors.
Inadequate outdoor sealing causes water damage that’s expensive to diagnose and repair. Water creeps into terminal blocks and corrodes connections, creating intermittent outages or fire risk. We specify robust sealing and drainage designed for North Texas weather.
Neglecting grounding appears to work fine until a wire fault occurs, then creates serious shock hazard. Code enforcement catches this during inspection, but even if it passes, it’s a liability risk. We ensure meticulous grounding in every installation.
Failing to coordinate timing between sign fabrication and electrical work doubles installation duration. One trades sits idle waiting for the other, extending project schedule and costs. We schedule both simultaneously to keep work moving.
Getting Your Project Completed on Schedule
Our 2-3 week turnaround combines quick design approval, concurrent fabrication and electrical planning, and efficient installation. This timeline works because we plan electrical requirements during design rather than after the sign is built.
Permit timing is predictable in Dallas when documentation is complete. We submit applications with all required calculations upfront, avoiding resubmissions. Most inspections clear within a week if the work is ready for review.
Communication with your building owner or property manager is crucial. We coordinate access, electrical panel locations, and any building-specific requirements before work starts. This prevents surprises that derail the schedule.
You’ll receive a detailed project timeline at kickoff showing design completion, fabrication progress, electrical work scheduling, and inspection dates. Regular updates keep everyone aligned.
Schedule acceleration tips:
- Approve design and electrical plan within 3-5 days
- Confirm building access and electrical panel location immediately
- Authorize permits before fabrication begins
- Have building owner pre-notify management of electrical work
- Schedule inspection as soon as sign and electrical are installation-ready
Start your project by contacting us for a free consultation. We’ll review your space, discuss sign concepts, calculate electrical requirements, and provide a clear timeline and budget. Our full-service approach handles design, permits, fabrication, electrical coordination, and installation so you focus on your business rather than managing multiple vendors.
Contact us today for a FREE Estimate